PowerMac G5 SATA III and USB 3.1 Upgrade
November 10, 2016
So, earlier “today”, I was tinkling with data migration on my PowerMac G5. Currently, my G5 holds 3 hard drives, two of which driven by a SATA III (6.0Gbps) controller; also, a USB 3.1 + USB Type-C card was also added to the machine.
So, why?
PowerMac G5 comes with a SATA storage controller - identified by Linux as follows:
Unassigned class [ff00]: Apple Inc. Shasta Mac I/O
...
Unassigned class [ff00]: Apple Inc. Shasta IDE
While it’s quite awesome for a early 2000s machine to ship with a SATA controller - and higher-end Macintoshes in the 90s were also shipped with SCSI controllers for their hard drive - it is the speed of the controller (well, and the sale on Amazon) which has driven me to this upgrade.
And also… I own a Nexus 5X, which uses a USB Type-C interface, with limited power outlet avilability in my dorm room, it would be really nice if I could charge my phone - fast charging enabled - on one of my computers (Lenovo, get Type-C on X270 please, I’m counting on it) - therefore a USB 3.1 and Type-C controller was also purchased.
Before I start getting into the details, note that this upgrade is only tested on my PowerMac G5 11,2 (Late 2005) (and with that I seriously doubt any other machines will work with this upgrade) - which were shipped with a PCI Express bus - as opposed to the PCI-X bus shipped with older G5 models:
- 1 * PCI Express 16x slot (usually occupied by the graphics card)
- 2 * PCI Express 8x slots
- 1 * PCI Express 4x slot
Right model? Awesome.
Well no. I wasn’t sure if this would work before - upgrades of this nature were not very well documented (motive of this blog post), as most of the folks playing around G5s kept themselves to OS X - which by no surprise would not work with newer PCI Express based upgrades, let alone with a SATA III and USB 3.1 controller card (Apple doesn’t care any more about these machines, stop daydreaming).
But in the end it turned out okay, … (Relief)
… So, for this upgrade, two cards were put into the machine:
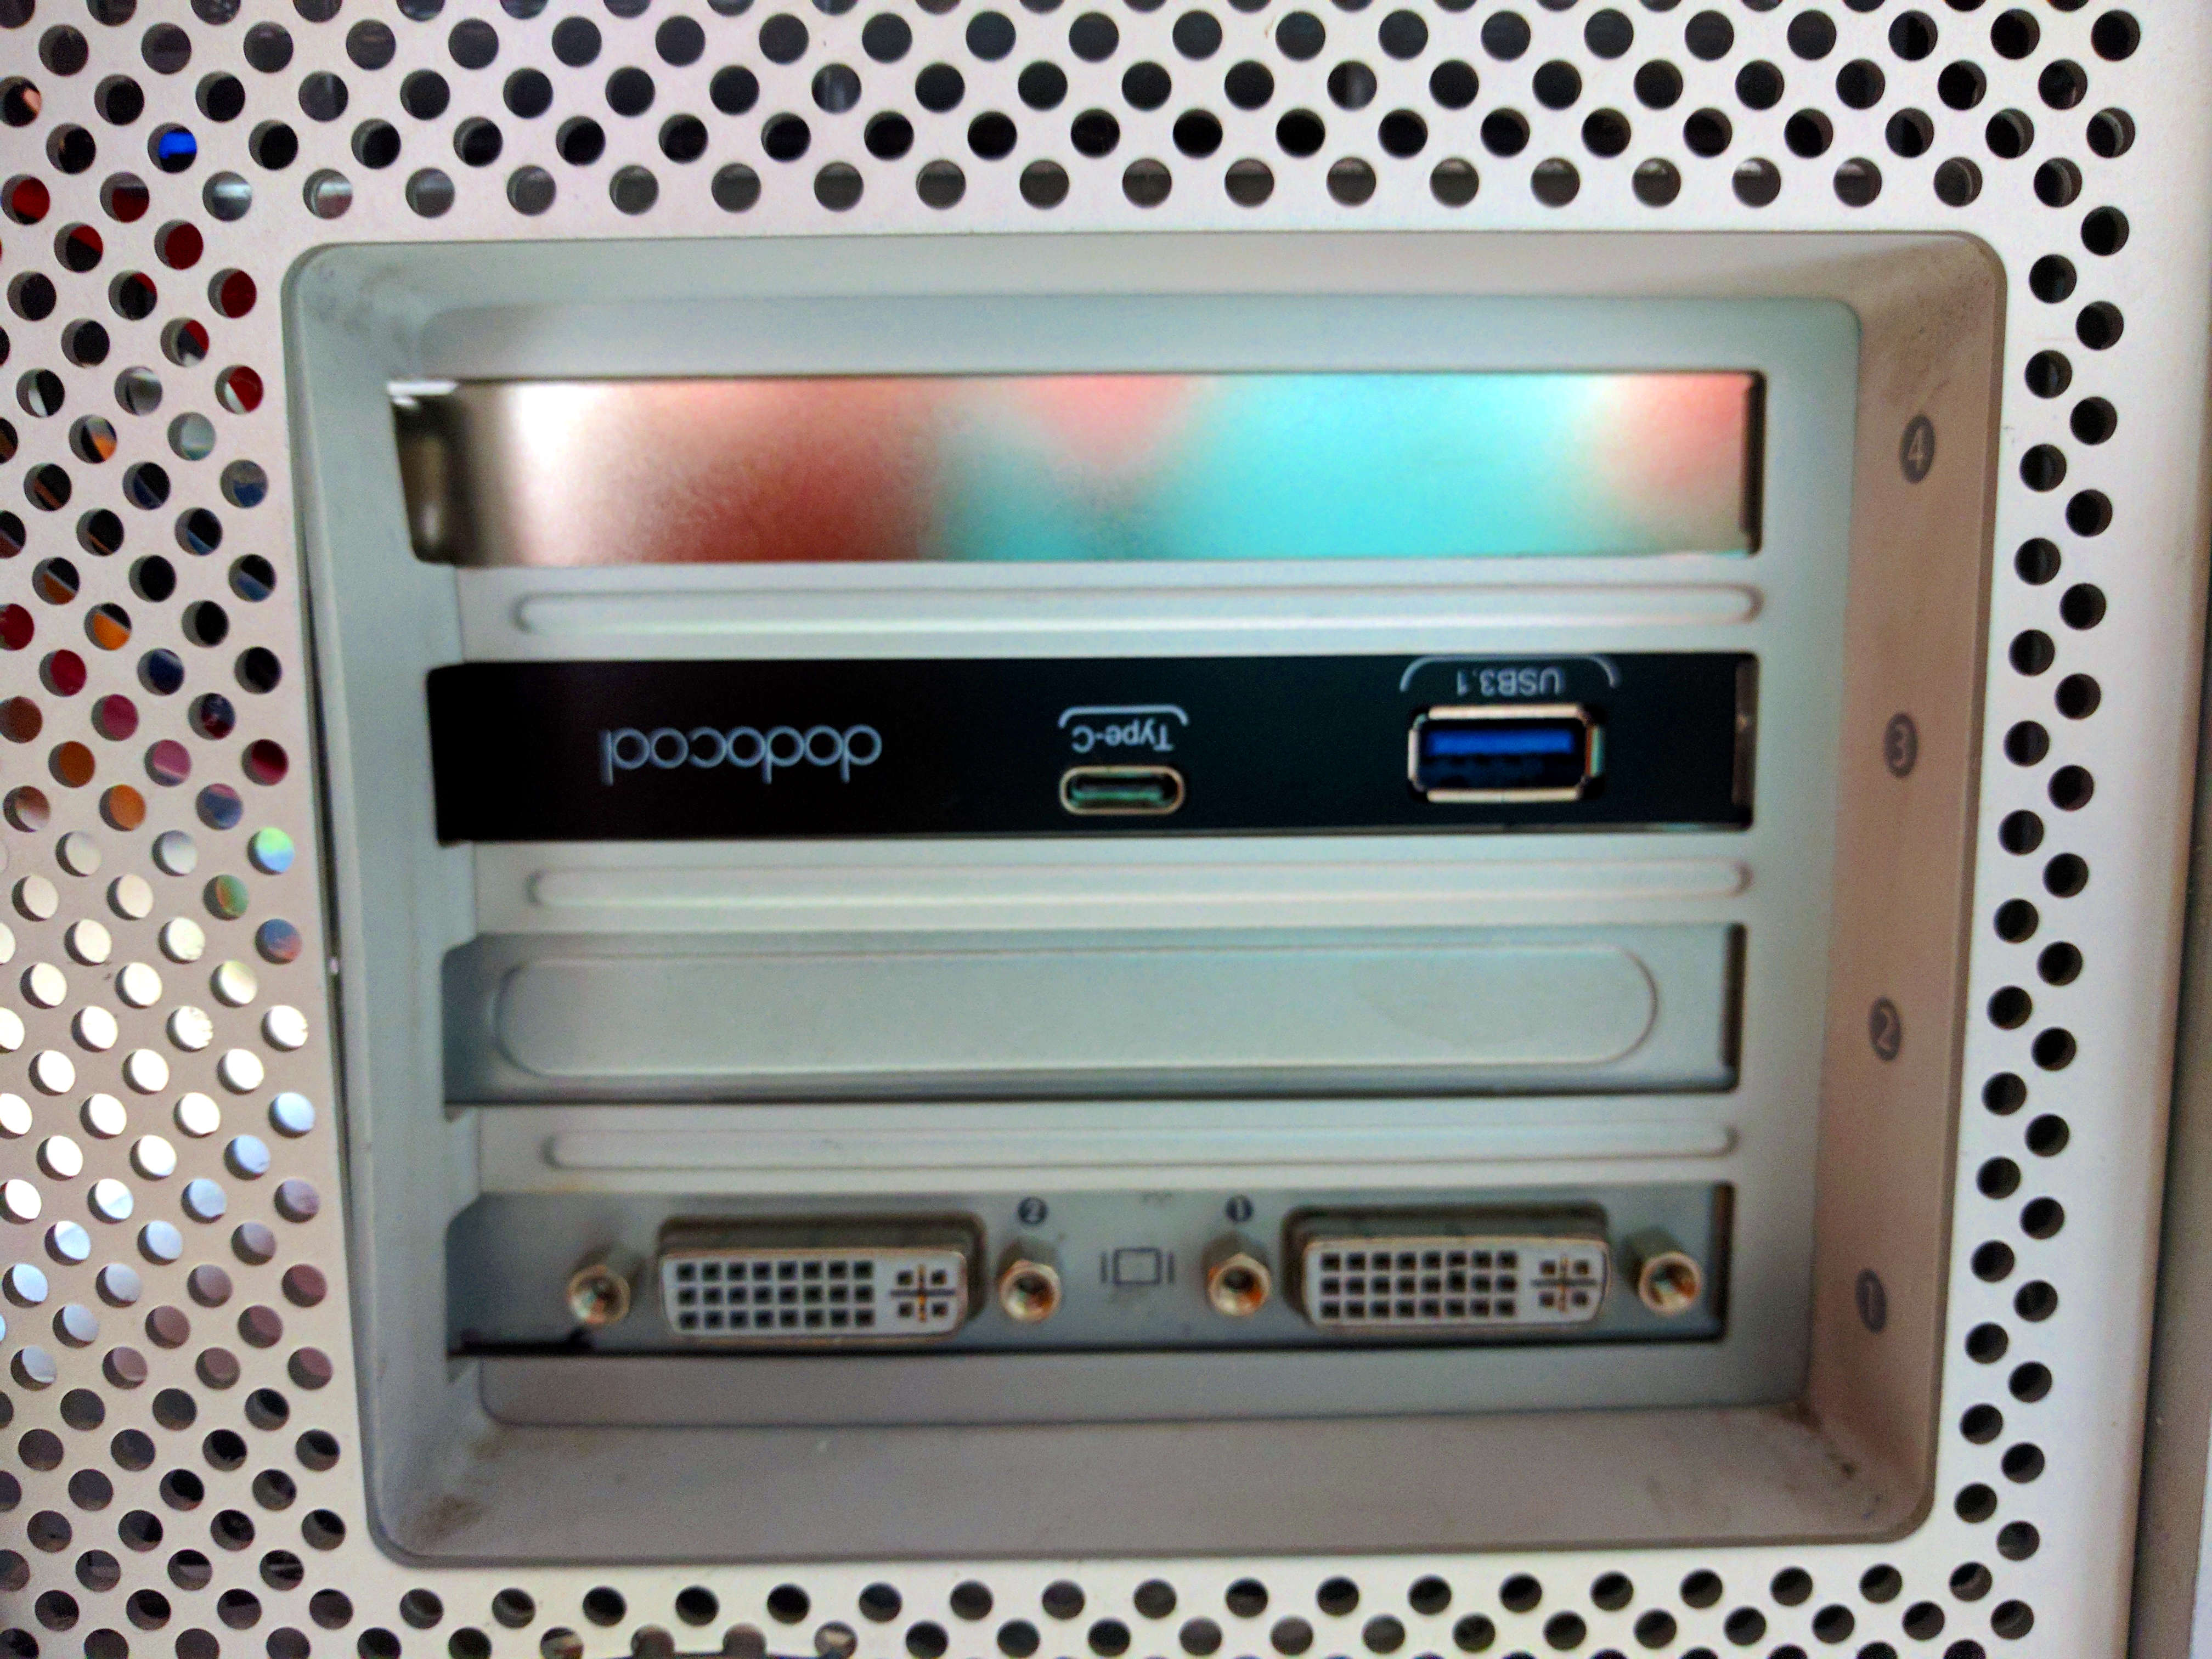
USB controller: ASMedia Technology Inc. ASM1142 USB 3.1 Host Controller
SATA controller: ASMedia Technology Inc. ASM1062 Serial ATA Controller (rev 01)
And they were fitted in the machine in a setup as follows:
- USB 3.1 card was put into the 8x slot on the very top of the PCIe compartment:
- Power comes from a SATA 15-pin interface, which is splitted using a SATA power cable splitter (there are models available using standard/mini molex power connectors).
- SATA III card was put into the 4x slot:
- No need for extra power input to the card, you would need to use a SATA power cable splitter to connect the power straight onto the extra hard drive(s).
- Standard SATA cables were used to connect from the controller card to the hard drives.
- I have also purchased a 2.5 to 3.5 HDD caddy made by Cosair, which fits two 2.5 inch hard drives in a single 3.5 caddy - nice!
With all those in place, it’s time to mangle with the cables. This is the part which I find ironic with G5s’ interiors - space for cable management is very limited, so be prepared for a lot of nails-against-aluminium joy.
But anyways…
There is a gap between the mesh on the rear of the machine and the upper frame separator (between the PCIe compartment and the HDD compartment) - route all cables between this gap. It won’t be very neat after all, as you can see in the photo below.
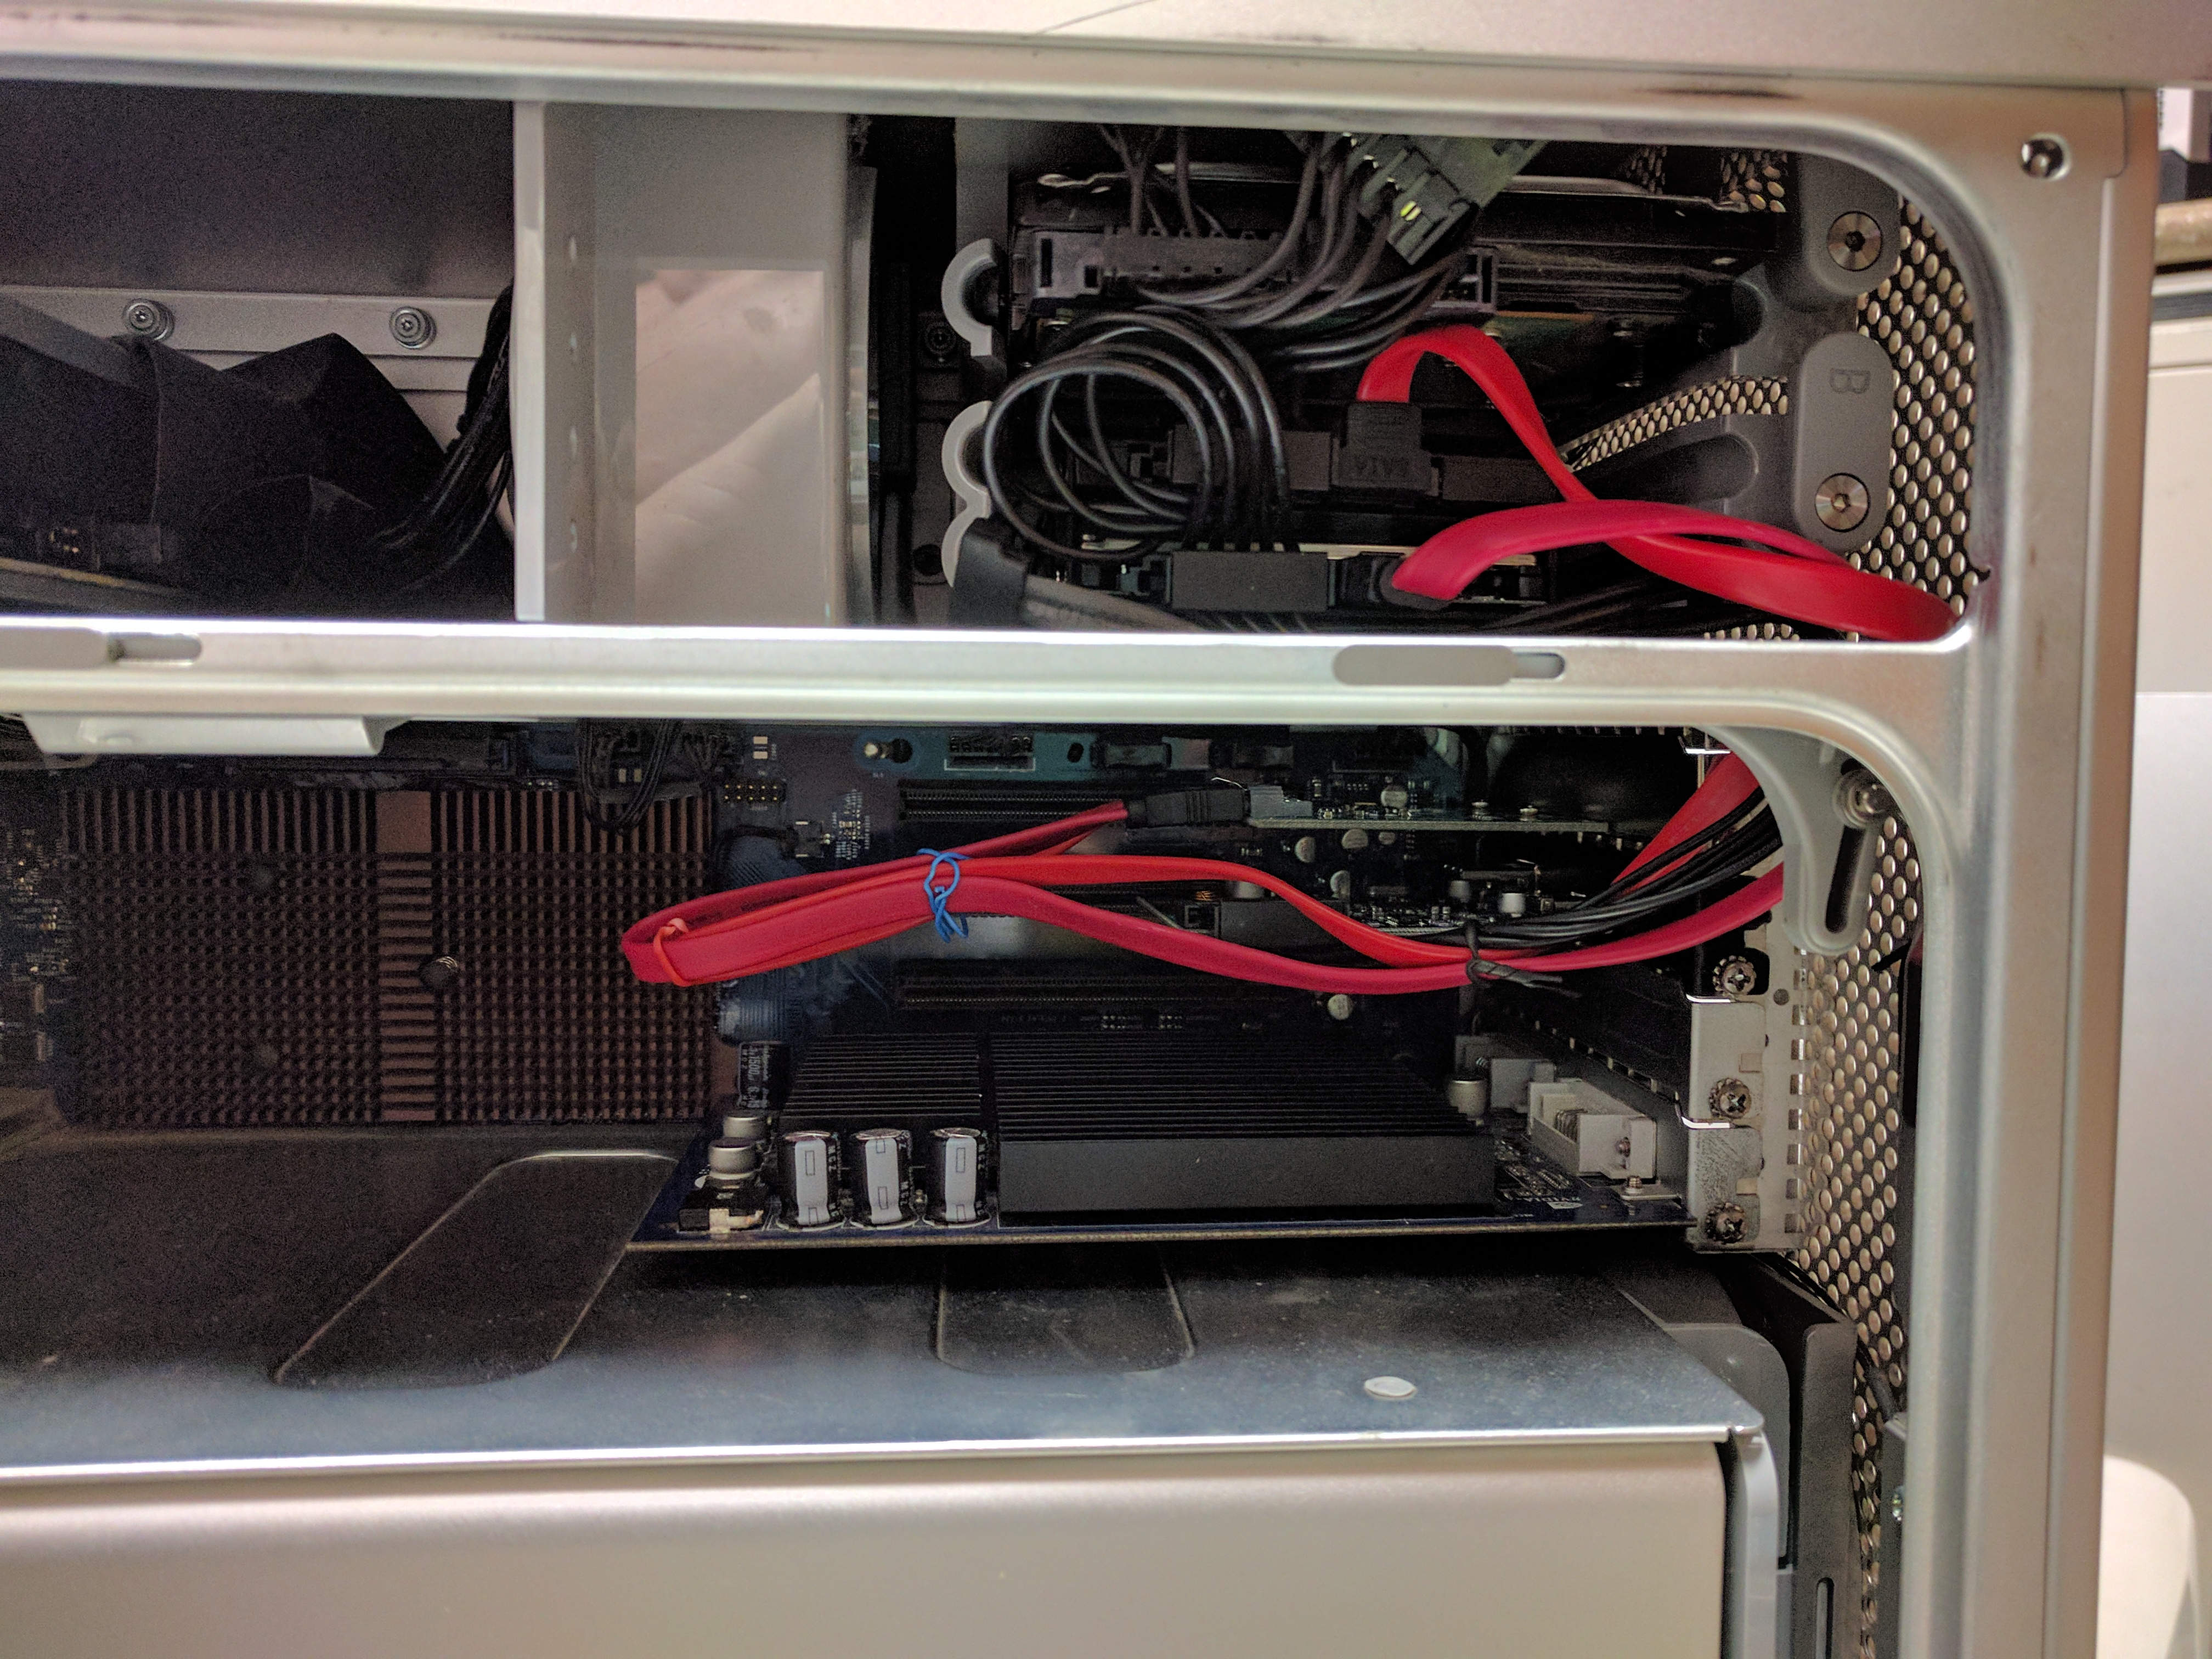
But it looks way neater from the outside, which I’m fine with.
And now…
Both cards should work out of the box with Linux Kernels newer than 4.6 (USB 3.1 support was just added with that branch, if you are not planning on adding a USB 3.1 card, you should be able to get away with anything newer than 2.6, I could be wrong - but I have no interest in semi-ancient Kernels anyways).
Then, I was at where I left off earlier today, leaving this photo at the Prologue.
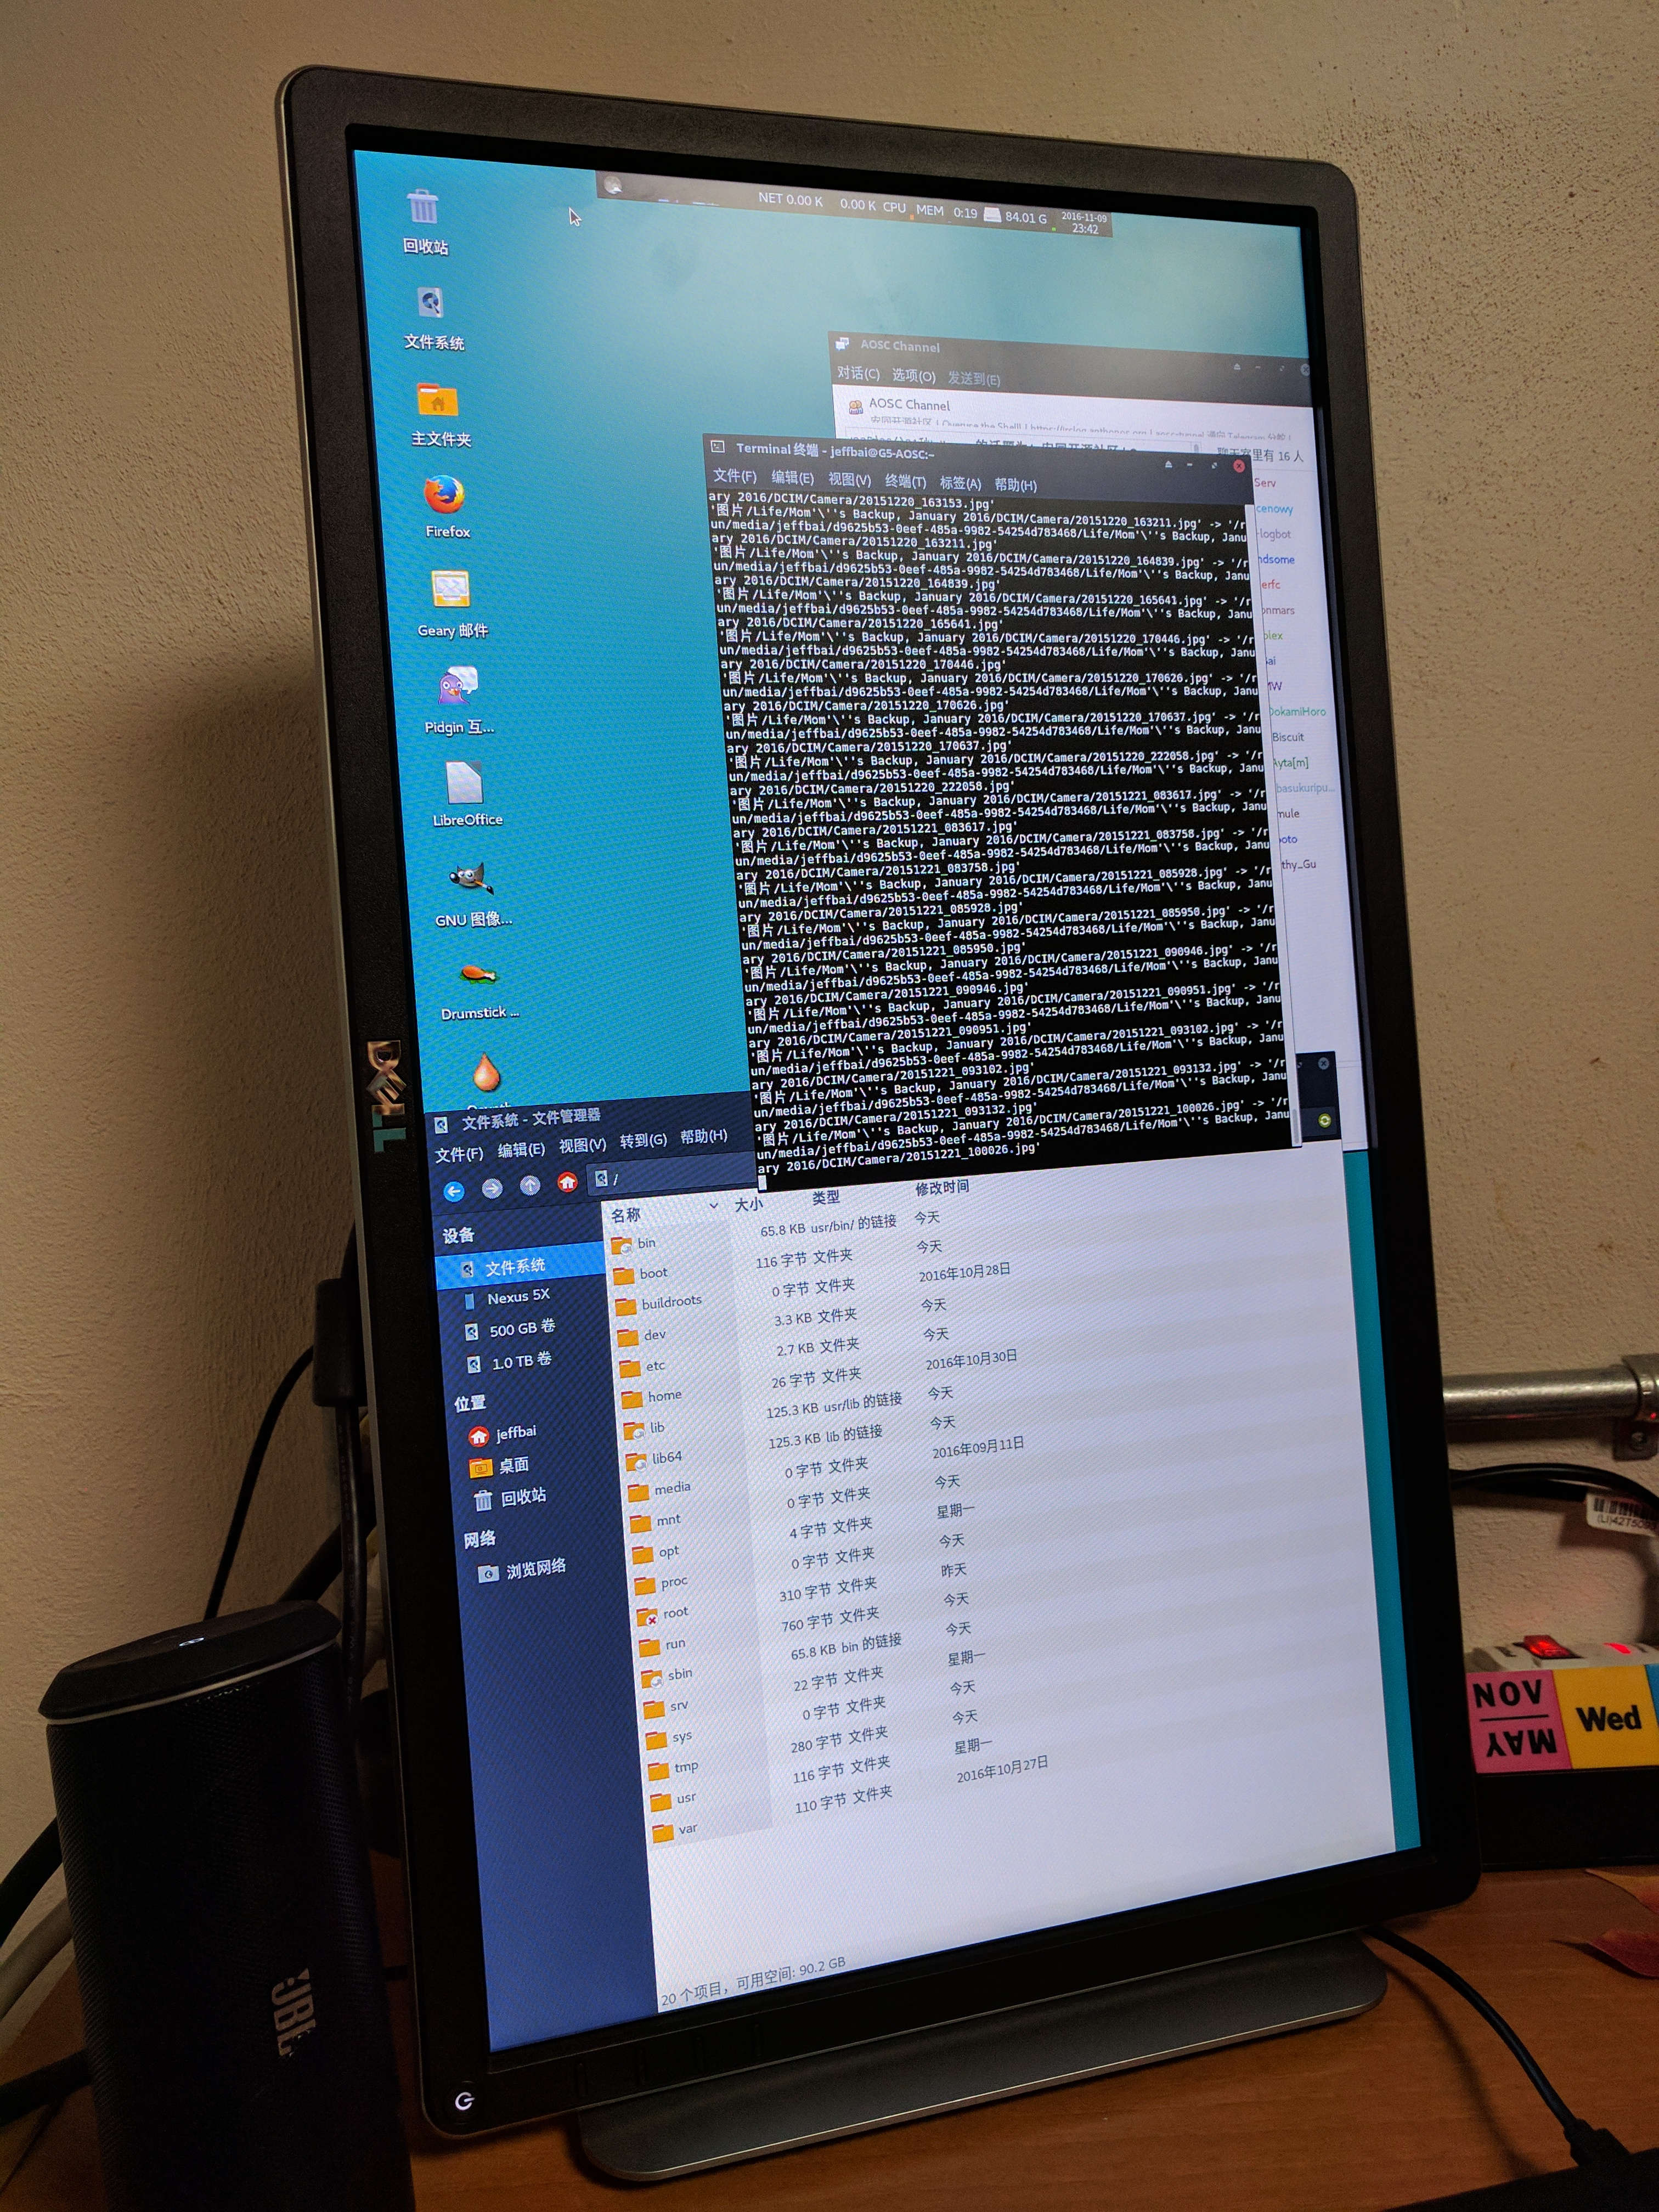
More fun ahead
However, things have just gotten more interesting from this point on.
Now that I have SATA III, there are some re-arrangement to make - which I believe would be more appropriate in a multi-drive system. Let me clarify some notations:
- 0,1: 500GB HDD on the original “Shasta” S/ATA controller.
- 1,1: 1TB HDD on the SATA III controller.
- 1,2: 120GB SSD on the SATA III controller.
So, here’s the re-arrangement plan:
- 0,1 will be stripped of all its contents except for my ~300GB collection of photographs, Yaboot (Linux/OS X boot manager for NewWorld PowerPC Macs) and the Linux Kernel images.
- 1,1 will be used for compiling (this PowerMac G5 is responsible for the PPC and PPC64 port of AOSC OS) and system containers (BuildKits and such).
- 1,2 will hold my daily system.
So why does 0,1 have to hold the Kernel image and Yaboot? PowerPC Macintoshes uses a special “Apple” partition map, and it expects the bootloader to be on the HDD attached to the “Shasta” controller. A new partition map is now created on 0,1 as follows:
/dev/sdc
        #                type name       length   base      system
/dev/sdc1 Apple_partition_map Apple          63 @ 1         Partition map
/dev/sdc2     Apple_Bootstrap untitled     1954 @ 64        NewWorld bootblock
/dev/sdc3     Apple_UNIX_SVR2 Photos  975722525 @ 2018      Linux native
/dev/sdc4          Apple_Free Extra          49 @ 975724543 Free space
(Output of mac-fdisk print function)
Where:
/dev/sdc1holds the actual partition map (quite a quirky design)./dev/sdc2, or the bootstrap partition, holds the Yaboot bootloader./dev/sdc3is used for Kernel images and Photos./dev/sdc4is free space mapped as a partition (weird, and possibly stupid IMHO).
I have to admit, there is one f*ck-up in this setup, I forgot to separate a partition for the Kernel images - but at the same time, I can’t be bothered, access control will take care of it for me.
Then, I used GPT (yes, GPT) partition maps on the other two, like how they came out of my laptops - You only have to use “Apple” partition map for the boot HDD only, you are free to use any partition maps for other HDDs - I figured using GPT is good enough (way better than the silly “Apple” format anyways), so I didn’t bother recreating a new parition map.
I formatted both partitions on 1,1 and 1,2 with Btrfs, appropriately:
Disk /dev/sda: 117.4 GiB, 126035288064 bytes, 246162672 sectors
Units: sectors of 1 * 512 = 512 bytes
Sector size (logical/physical): 512 bytes / 512 bytes
I/O size (minimum/optimal): 512 bytes / 512 bytes
Disklabel type: gpt
Disk identifier: DBE4B330-CF6E-41A0-945B-59EF0131D068

Device         Start       End   Sectors  Size Type
/dev/sda1       2048 209717247 209715200  100G Linux filesystem
/dev/sda2  209717248 246162638  36445391 17.4G Linux filesystem


Disk /dev/sdb: 931.5 GiB, 1000204886016 bytes, 1953525168 sectors
Units: sectors of 1 * 512 = 512 bytes
Sector size (logical/physical): 512 bytes / 4096 bytes
I/O size (minimum/optimal): 4096 bytes / 4096 bytes
Disklabel type: gpt
Disk identifier: 647ACEF0-A221-4079-BEE8-184287FDD6A3

Device     Start        End    Sectors   Size Type
/dev/sdb1   2048 1953525134 1953523087 931.5G Linux filesystem
Transfer time!
Now, it’s time to transfer the system root to the new SSD. Interesting enough, with
rsync, you don’t event have to use a Live media (although I would recommend that you
stop as much services as possible, including desktop environments and such) - just use
the method described in the ArchWiki article (link attached in the references section
below):
# mount /dev/sda1 /mnt
# rsync -axX --info=progress2 \
        --exclude={"/dev/*","/proc/*","/sys/*","/tmp/*", \
        "/run/*","/mnt/*","/media/*","/lost+found"} / /mnt
# sync
This will take a very, very long time (~2 hours in my case). The system should boot right away after the transfer, given nothing bad happened.
The only thing left to do is re-configuring Yaboot to match your new boot setup. I won’t get into details here, you can always check its manpages.
References:
- Linux Newbies Page for 4.6 (USB 3.1 support information):
- https://kernelnewbies.org/Linux_4.6
- Wikipedia: Power Mac G5 (PCIe support):
- https://en.wikipedia.org/wiki/Power_Mac_G5
- Wikipedia: Apple Partition Map
- https://en.wikipedia.org/wiki/Apple_Partition_Map
- “SATA and USB3.0 upgrade on PowerMac G5”
(Appreciated the information, but not very well documented):
- http://somethingoo.blogspot.com/2014/11/sata-and-usb30-upgrade-on-powermac-g5.html
- ArchWiki: Full system backup with rsync:
- https://wiki.archlinux.org/index.php/full_system_backup_with_rsync
- Ubuntu Wiki: PowerPCFAQ:
- https://wiki.ubuntu.com/PowerPCFAQ
- Gentoo Wiki: Handbook:PPC/Installation/Disks:
- https://wiki.gentoo.org/wiki/Handbook:PPC/Installation/Disks